To scan documents on iPhone, open the Notes app, tap the camera icon, select “Scan Documents,” position your document on a flat surface, and let the camera automatically capture and enhance the scan. You can also use the Files app by tapping the three-dot menu and selecting “Scan Documents” to save PDFs directly to your preferred location. Both methods are built into iOS and require no additional apps or equipment.
Turning physical documents into digital files creates secure copies of your important papers while reducing the piles of paperwork around your home or workspace. Your iPhone’s camera has become sophisticated enough to handle professional-quality document scanning without needing bulky equipment. Bills, forms, handwritten notes, and other paper materials can all be digitized with impressive clarity.
Scan documents with Notes or Files
Both apps use a similar scanning process, though they save files differently. In Notes, open any note and tap the camera icon, then choose Scan Documents. For the Files app, look for the three-dot menu in the upper right and select Scan Documents.
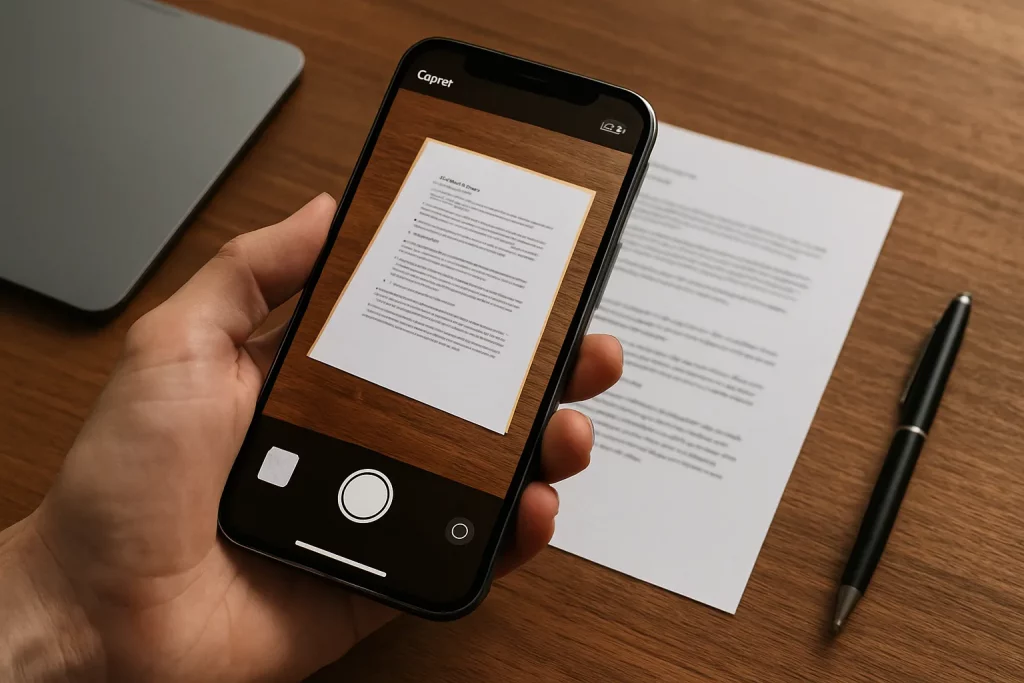
Either choice opens the camera scanner. The default setting uses automatic capture — position your document within the viewfinder frame, and the camera takes the photo when everything lines up correctly. Move to your next page, and it captures that one too after detecting the document edges.
Switch to manual control by tapping Auto in the corner, which changes the button to Manual. Now you control when each photo gets taken using the shutter button. Tap Manual again to return to automatic mode.
Look for the icons along the top edge. The flash control appears as a lightning symbol, while the circular icon cycles through different capture modes: Color, Grayscale, Black & White, and Photo. Pick whichever setting works best for your document type.
Hit Save once you’ve captured everything. Notes adds your scanned pages directly into the current note, while Files creates a PDF document that you can store in your chosen location.
Adding signatures to scanned documents
The Notes app includes a handy feature for adding digital signatures directly to your scanned documents. After scanning a document, tap the Markup button, then select the plus sign and choose Signature. You can create a new signature by drawing with your finger or Apple Pencil, or select a previously saved signature. Position and resize the signature as needed, then tap Done to apply it.
Scanning documents from a Mac
Apple’s device integration includes a neat feature that turns your iPhone into a wireless scanner for your Mac. Both devices need the same Apple ID, plus active Wi-Fi and Bluetooth connections.
This scanning bridge works across many Mac apps including Finder, Mail, Messages, Notes, and the iWork suite. Access it through several routes:
- Right-click where you want the scan, then select Import from iPhone or iPad > Scan Documents
- Use the File menu and choose Import from iPhone or iPad > Scan Documents
- Try the Insert menu option for Import from iPhone or iPad > Scan Documents
Any of these options activates your iPhone’s scanner remotely. Complete the scanning process on your phone, tap Save, and the documents transfer automatically to your Mac application.
Third-party scanning apps
While iOS handles basic scanning well, specialized apps offer enhanced features for specific workflows. Many people already use cloud storage apps that include scanning capabilities.
Adobe Scan
Adobe Scan stands out for creating searchable PDF documents quickly. The app handles various document types including standard papers, ID cards, whiteboards, and business cards with different optimized scanning modes.
Notable features include smart edge detection, automatic cropping, multi-page document assembly, cross-device synchronization, and free access with Adobe registration.
Genius Scan
This popular scanner app has attracted millions of users with its intelligent processing features. The app can analyze document content and suggest relevant file names automatically, handle batch scanning sessions, and includes security options like password protection.
Google Drive scanning
Open Google Drive and look for the scanning icon in the bottom corner — it resembles a document with a border. The camera interface matches Apple’s built-in scanner, but saves directly to your Google Drive storage with folder selection options.
Dropbox scanning
Dropbox provides more editing control during the scanning process. Tap the blue plus icon, then choose Scan files. After capturing each page, you get editing tools to adjust borders, rotate images, and add additional pages. The final step lets you select the storage location and compression level for your PDF.
Tips for better scans
Getting professional-quality scans from your iPhone requires attention to a few key factors:
Lighting matters most. Use natural daylight or bright, even artificial lighting. Avoid shadows by positioning lights on multiple sides of your document. Dark documents work better on light surfaces.
Keep your iPhone steady. Hold your phone directly above the document, not at an angle. Fill the camera frame with the document and wait for automatic edge detection before capturing. Consider using a tripod for important documents.
Prepare your documents properly. Flatten wrinkled or folded papers completely. Clean any smudges or marks that might interfere with scanning. Remove staples or clips that create shadows.
Organizing your scanned documents
Use consistent file naming that includes the date in YYYY-MM-DD format for chronological sorting, the document type like receipt or contract, and relevant keywords or reference numbers.
Most scanning apps integrate with popular cloud services. iCloud Drive offers seamless integration across Apple devices, while Google Drive provides cross-platform accessibility. Dropbox works well for universal file sharing, and OneDrive integrates with Microsoft’s ecosystem.
For sensitive documents, enable password protection in your chosen scanning app and use biometric locks like Face ID or Touch ID. Regular backups of important scanned documents are essential, and consider local storage for highly confidential materials.
Troubleshooting common issues
Blurry scans usually result from poor lighting or camera movement. Improve lighting conditions, hold the phone steadier during capture, clean the camera lens, and move closer to the document for better detail.
Edge detection problems can be solved by increasing contrast between the document and background, manually adjusting corner points after scanning, trying different angles or lighting setups, or using manual capture instead of automatic detection.